Yes, you can move your Aternos server to another host and keep everything that matters: your world, your builds, and every player's inventory. The whole move takes about 15 minutes. You download your world from Aternos, upload it to the new server, match the software and version, and reinstall your plugins or mods. This guide walks through every step, including the parts most guides get wrong.
What actually transfers (and what does not)
Your world is the important part, and it transfers completely. A Minecraft world folder contains the terrain, all your builds, chests, villagers, and the playerdata folder with every player's inventory, ender chest, and position. Move the world and all of that comes with it.
A few things do not come along automatically:
- Plugins and mods: Aternos installs these on their side, so you reinstall them at the new host. Their config files can be copied over if you grab them first.
- Server settings: things like the whitelist, operators, and
server.propertiesvalues take two minutes to re-create. - Backups: Aternos backups cannot be downloaded directly. Only the current world state can be exported, so make sure the world is in the state you want before you download it.
- Your address: the
aternos.meaddress stays behind. Your new host gives you a new connection address to share with your players.
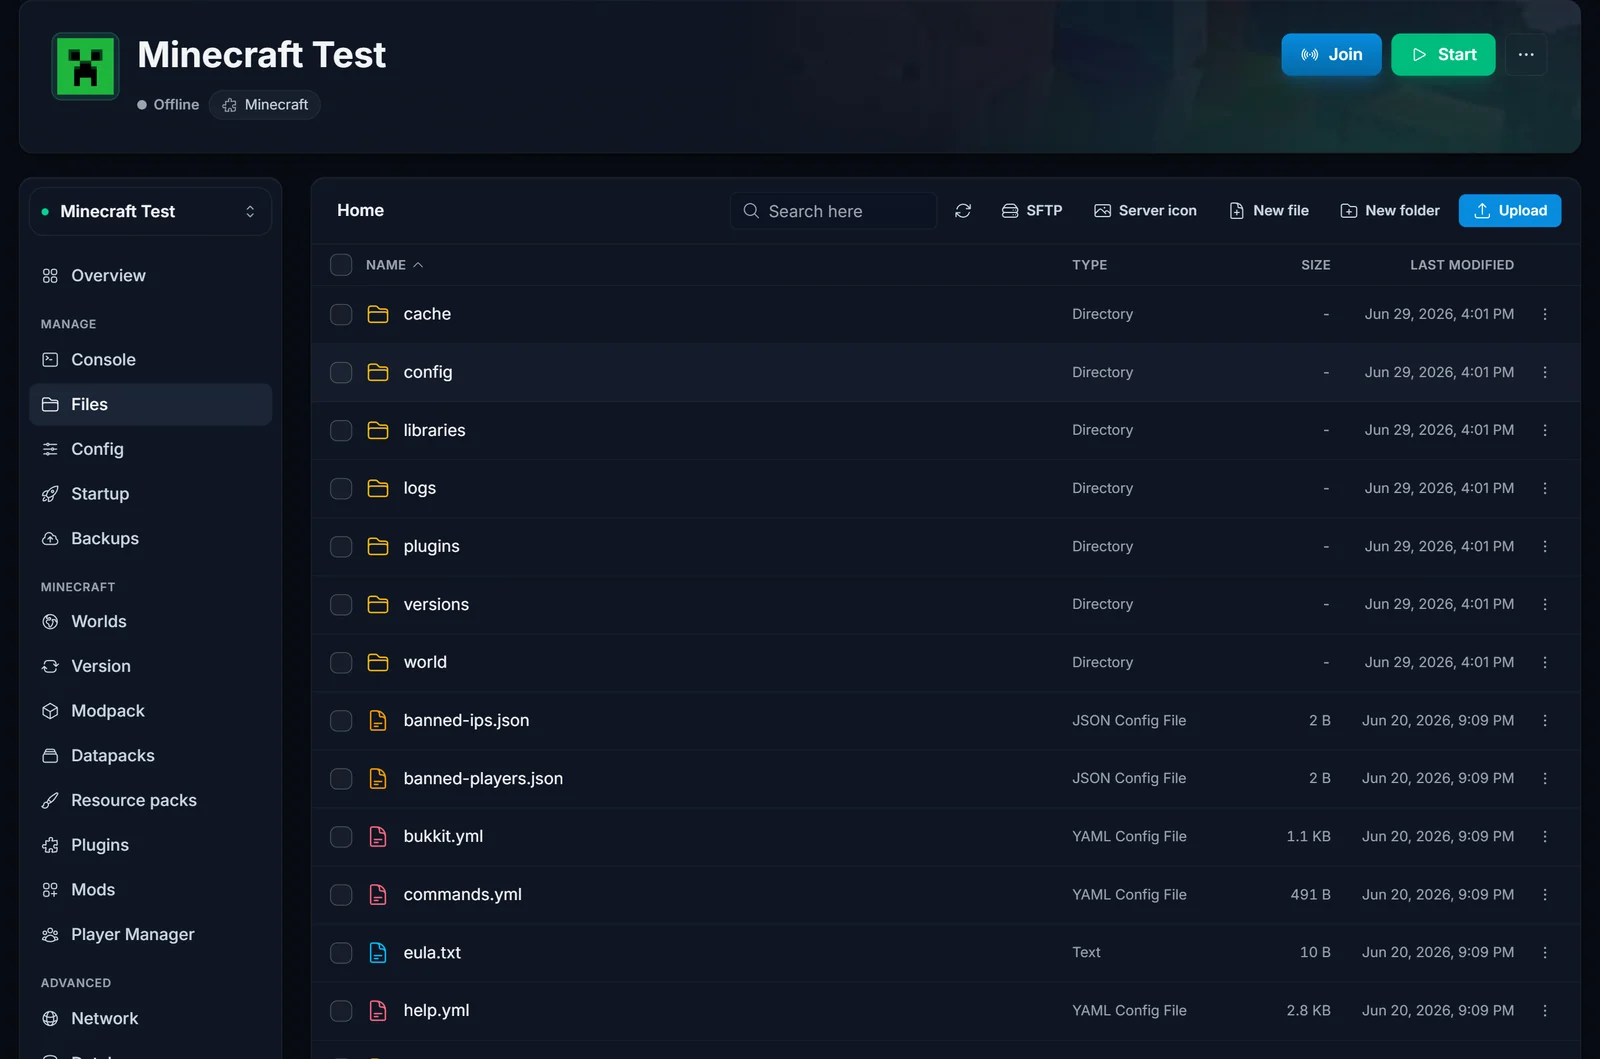
Step 1: download your world from Aternos
Aternos exports worlds from the Worlds page (aternos.org/worlds):
- Stop your server first. You can technically download while it runs, but stopping guarantees the latest chunks are saved to disk.
- Open the Worlds page and select your world.
- Click Download. Aternos packs the world into a zip and your browser downloads it.
Two details that save headaches later:
- Running Paper, Spigot or another plugin server? The Nether and the End are separate worlds (
world_netherandworld_the_end). Download each of them from the same page, or your players will arrive to a freshly generated Nether. On vanilla servers all dimensions live inside the single world download. - Grab your config files too. On the Aternos Files page you can open and copy the contents of
whitelist.json,ops.json,server.properties, and any plugin configs underplugins/. You may not need all of them, but you cannot get them after your Aternos server is gone.
Step 2: note your software and version
Check the Aternos Software page and write down two things: the server software (Vanilla, Paper, Spigot, Forge, Fabric, and so on) and the Minecraft version (for example 1.21.6). You will match both at the new host.
One rule matters here: a world can always move up in version, never down. Loading a 1.21 world on a 1.20 server corrupts chunks. Pick the same version you had, or a newer one.
Step 3: set up the new server and match the software
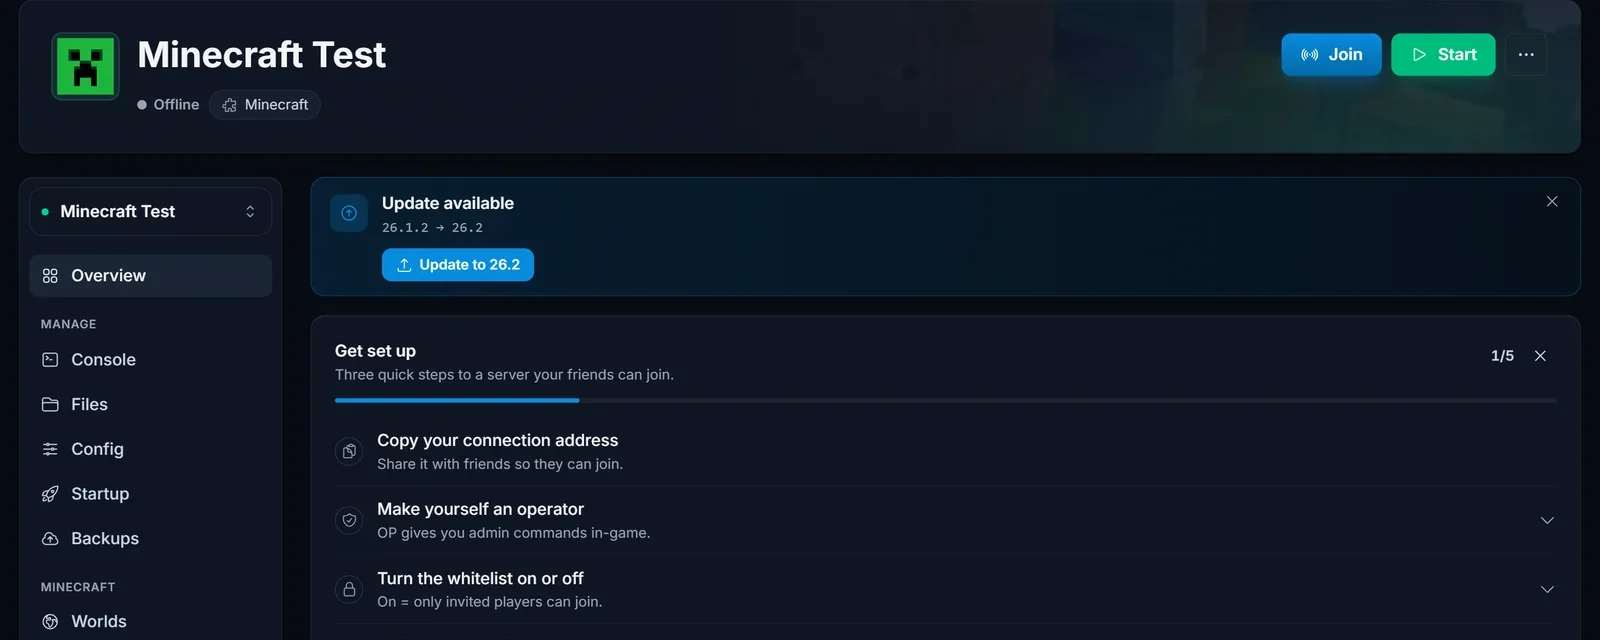
Order your new server and open its control panel. On a DoomHosting Minecraft server the panel looks like this:

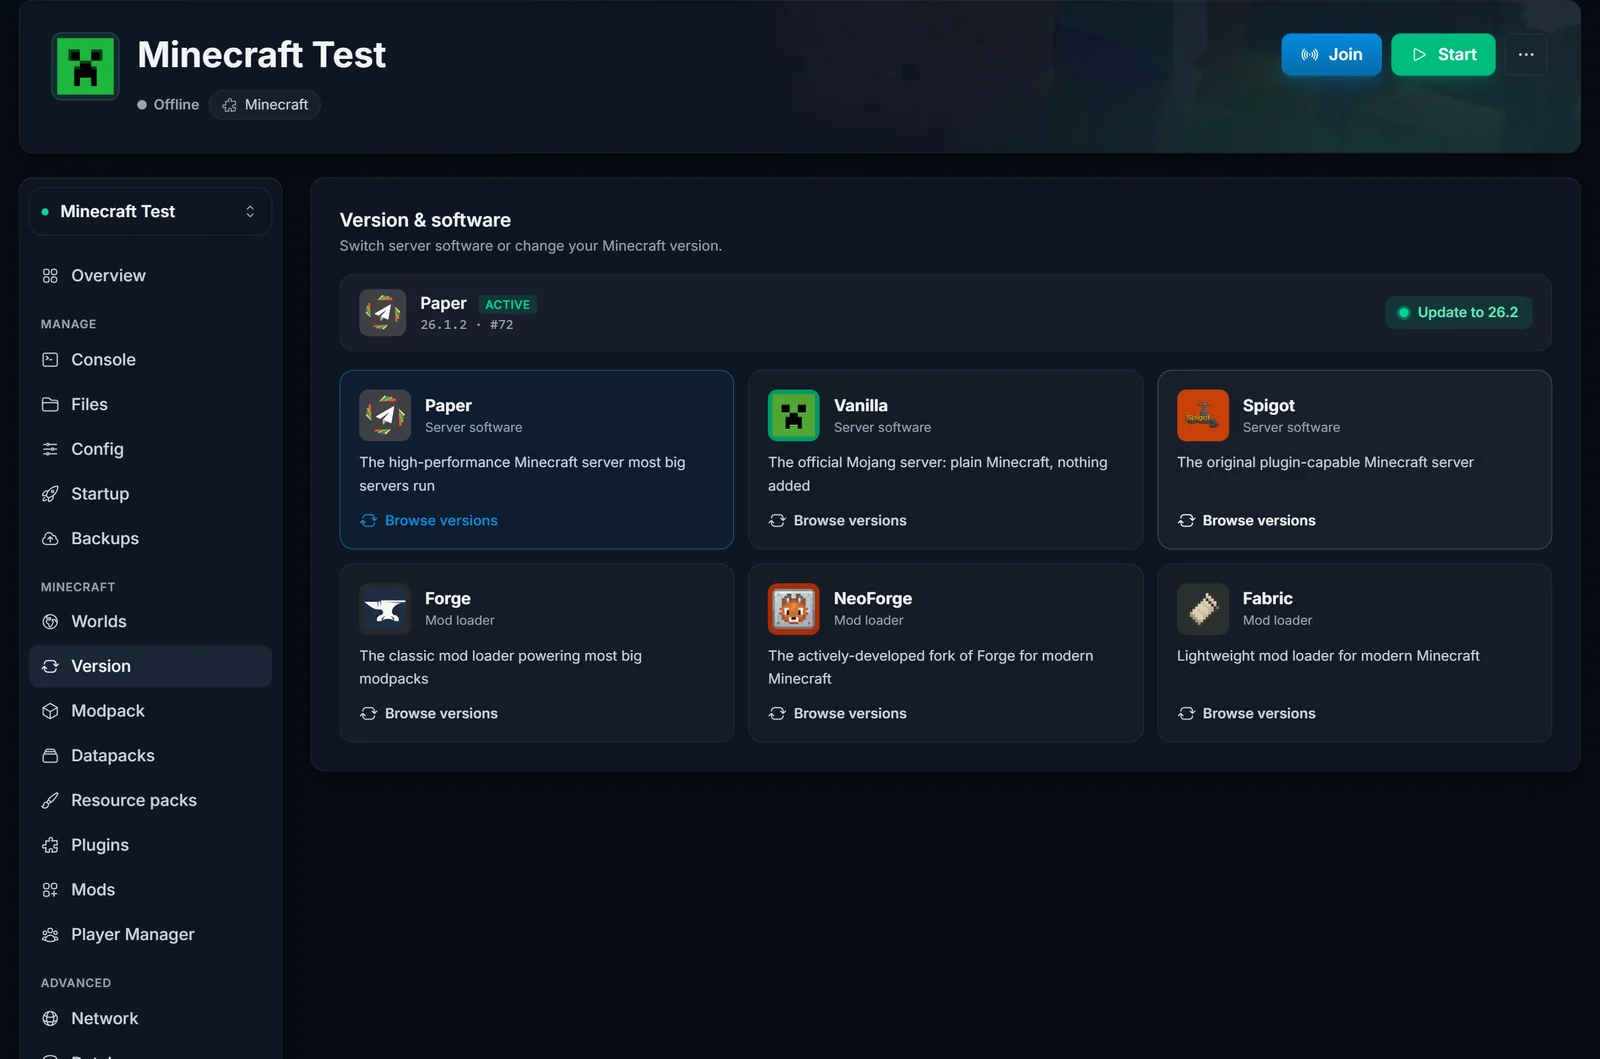
Open the Version tab and select the same software and version you noted in step 2. Paper, Vanilla, Spigot, Forge, NeoForge, and Fabric are all one click, no manual jar uploads:
Step 4: upload your world
This is where the move actually happens, and it is easier than most guides suggest. In the DoomHosting panel, open the Worlds tab and click Upload world, then pick Archive:
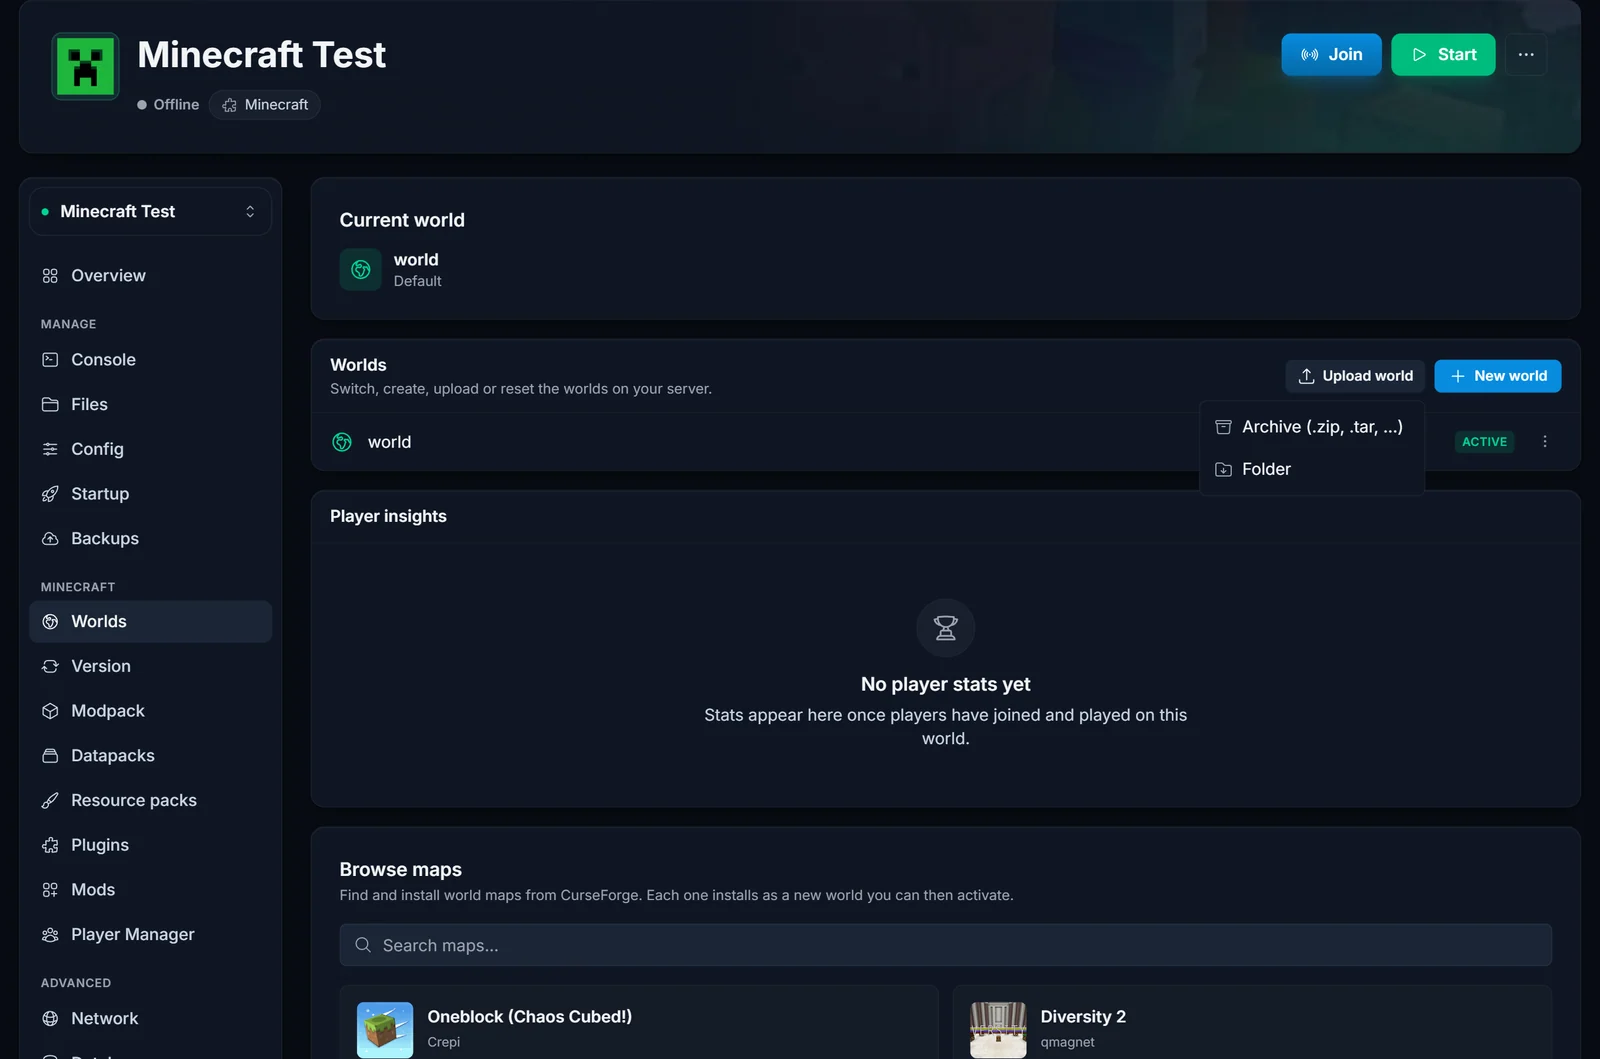
Select the zip you downloaded from Aternos. There is no file size limit, so even a years-old world with a huge map uploads fine. The panel stops the server safely, extracts the archive, finds the world folder automatically (even when it is nested inside another folder in the zip), and then offers to rename and activate it. Click Use this world and the server starts with your Aternos world loaded.
If you run Paper or Spigot, repeat the upload for world_nether and world_the_end.
Prefer doing it by hand? The Files tab gives you the full server file system with drag-and-drop upload, and SFTP access works with FileZilla if you would rather use a desktop client:
Step 5: reinstall plugins or mods
Plugins are reinstalled rather than copied, and that is quicker than it sounds. The Plugins tab searches the catalog and installs with one click:
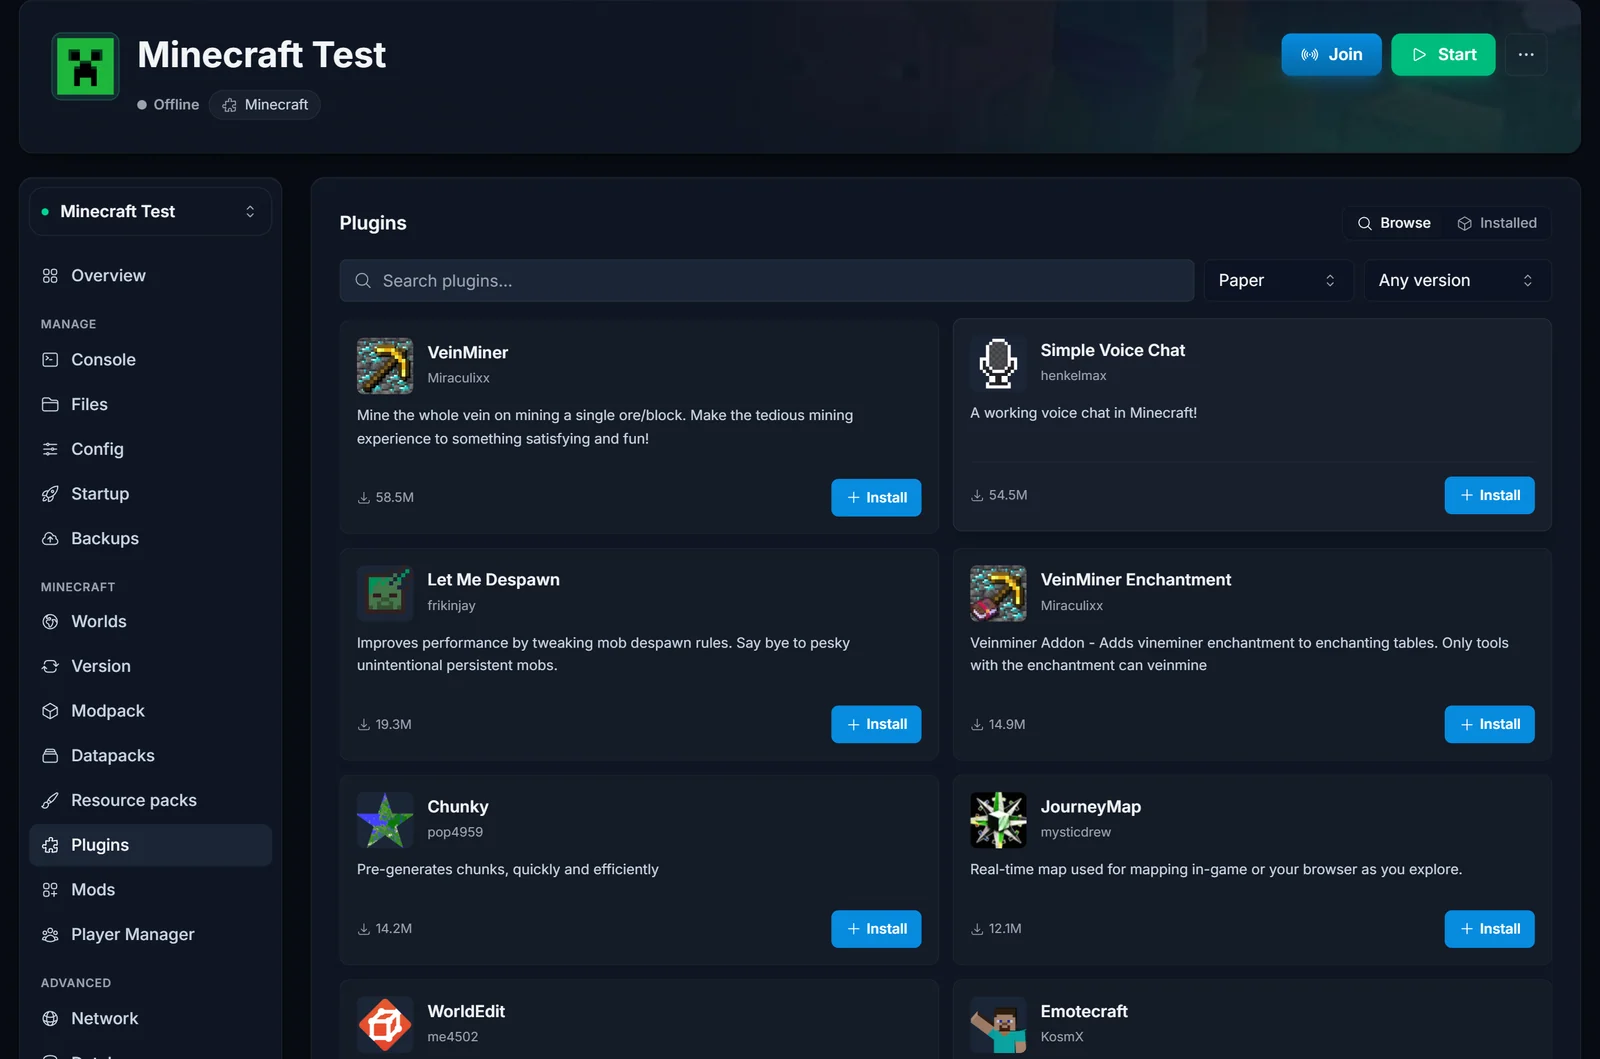
After installing a plugin, paste your old config over the fresh one: open Files, go to plugins/<PluginName>/, and replace config.yml with the copy you saved in step 1. Your plugin picks up exactly where it left off.
For modded servers the flow is the same in the Mods tab (Forge, NeoForge, Fabric), and full modpacks install from the Modpack tab.
Step 6: re-create your settings
Last touches, all quick:
- Whitelist and operators: run
/whitelist add <name>and/op <name>from the console, or upload your savedwhitelist.jsonandops.jsonvia Files. - server.properties: set your gamemode, difficulty, and other values to match your notes. Values like
max-playersandview-distanceare editable right in the panel. - Share the new address with your players. It replaces the old
aternos.meone, and they add it as a new server in their multiplayer list.
Common problems and quick fixes
The server generated a brand new world. The world folder name does not match the level-name in server.properties. If you imported through the Worlds tab this cannot happen, because activating the world sets it for you. On a manual FTP upload, rename the folder or update level-name.
The Nether or the End reset. You uploaded only the main world on a Paper or Spigot server. Go back to Aternos and download world_nether and world_the_end as well.
Chunks look corrupted or the server crashes on load. The new server runs an older Minecraft version than the world was saved in. Switch to the version you noted in step 2 or newer.
Player inventories are gone. Inventories live in world/playerdata and transfer with the world. If they seem missing, the server is probably in a different online mode than before, which changes player UUIDs. Keep online-mode=true like Aternos uses.
Why people make this move
Aternos is a genuinely good free service, and for a weekend project it is all you need. The reasons players eventually move are structural: the server goes to sleep when nobody is online, friends wait in a queue to start it, and performance is shared. A paid server is always on, starts instantly, and has dedicated RAM and CPU, which is what keeps a long-running world with 10+ players smooth. If you are unsure how much memory your world needs, the Minecraft RAM calculator gives you a number based on players and mods, and you can see the whole control panel in action on the game panel tour.
Your world does not care where it runs. Download the zip, upload it, match the version, and your players will never know anything changed, except that the server no longer needs a queue to start.