There are two ways to put your own world onto a Minecraft Bedrock server: upload it in one click from the Worlds tab in your DoomHosting control panel, or copy it in manually with the File Manager. Bedrock worlds are .mcworld files (or plain folders), and the server plays whichever world level-name points to. This guide covers both methods plus how to switch between worlds.
Upload a world from the Worlds tab
This is the easiest way and handles everything for you.
- Open your server in the panel and go to the Worlds tab.
- Click Upload world and pick your
.mcworldfile. A.zipof a world folder works too. - The panel stops the server if it is running, adds the world, then asks if you want to make it active.
- Choose Set as active. Your server restarts on the new world.
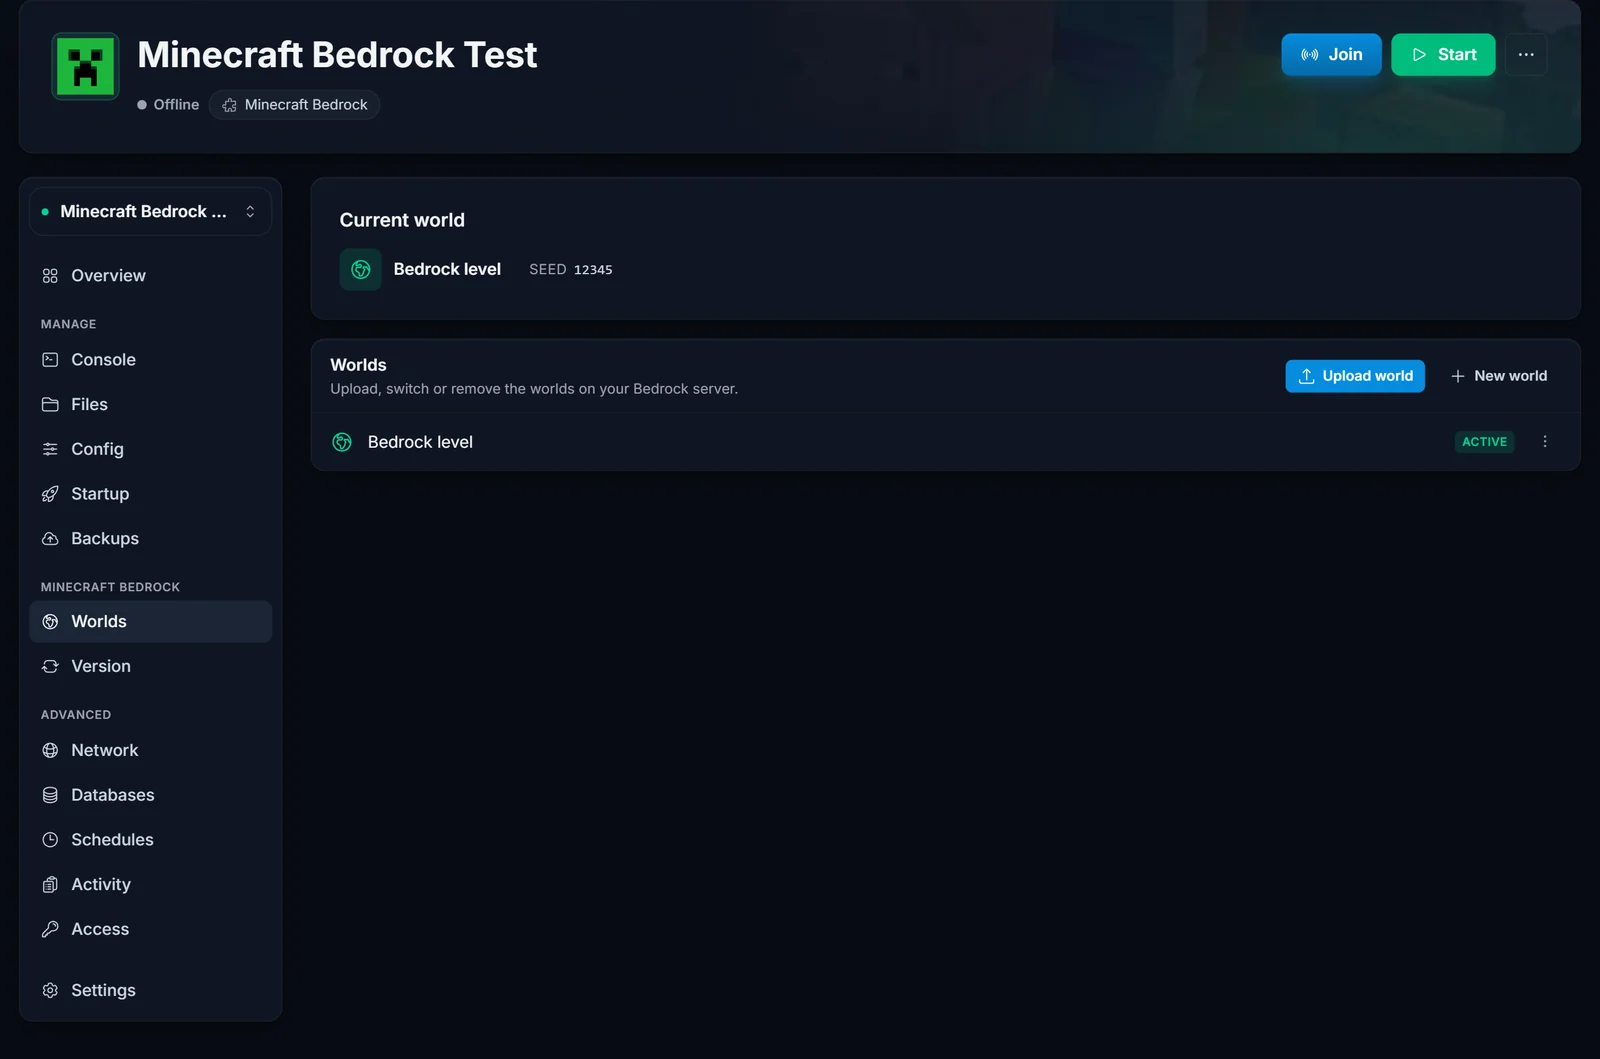
If the uploaded world has the same name as one you already have, the panel asks whether to keep the old one as a backup or replace it, so nothing is lost by accident. New to the panel? The control panel overview shows where the Worlds tab and File Manager are.
Upload a world manually with the File Manager
Use this if you prefer FTP or want full control over the files.
- Stop the server first, so your files are not overwritten when it shuts down.
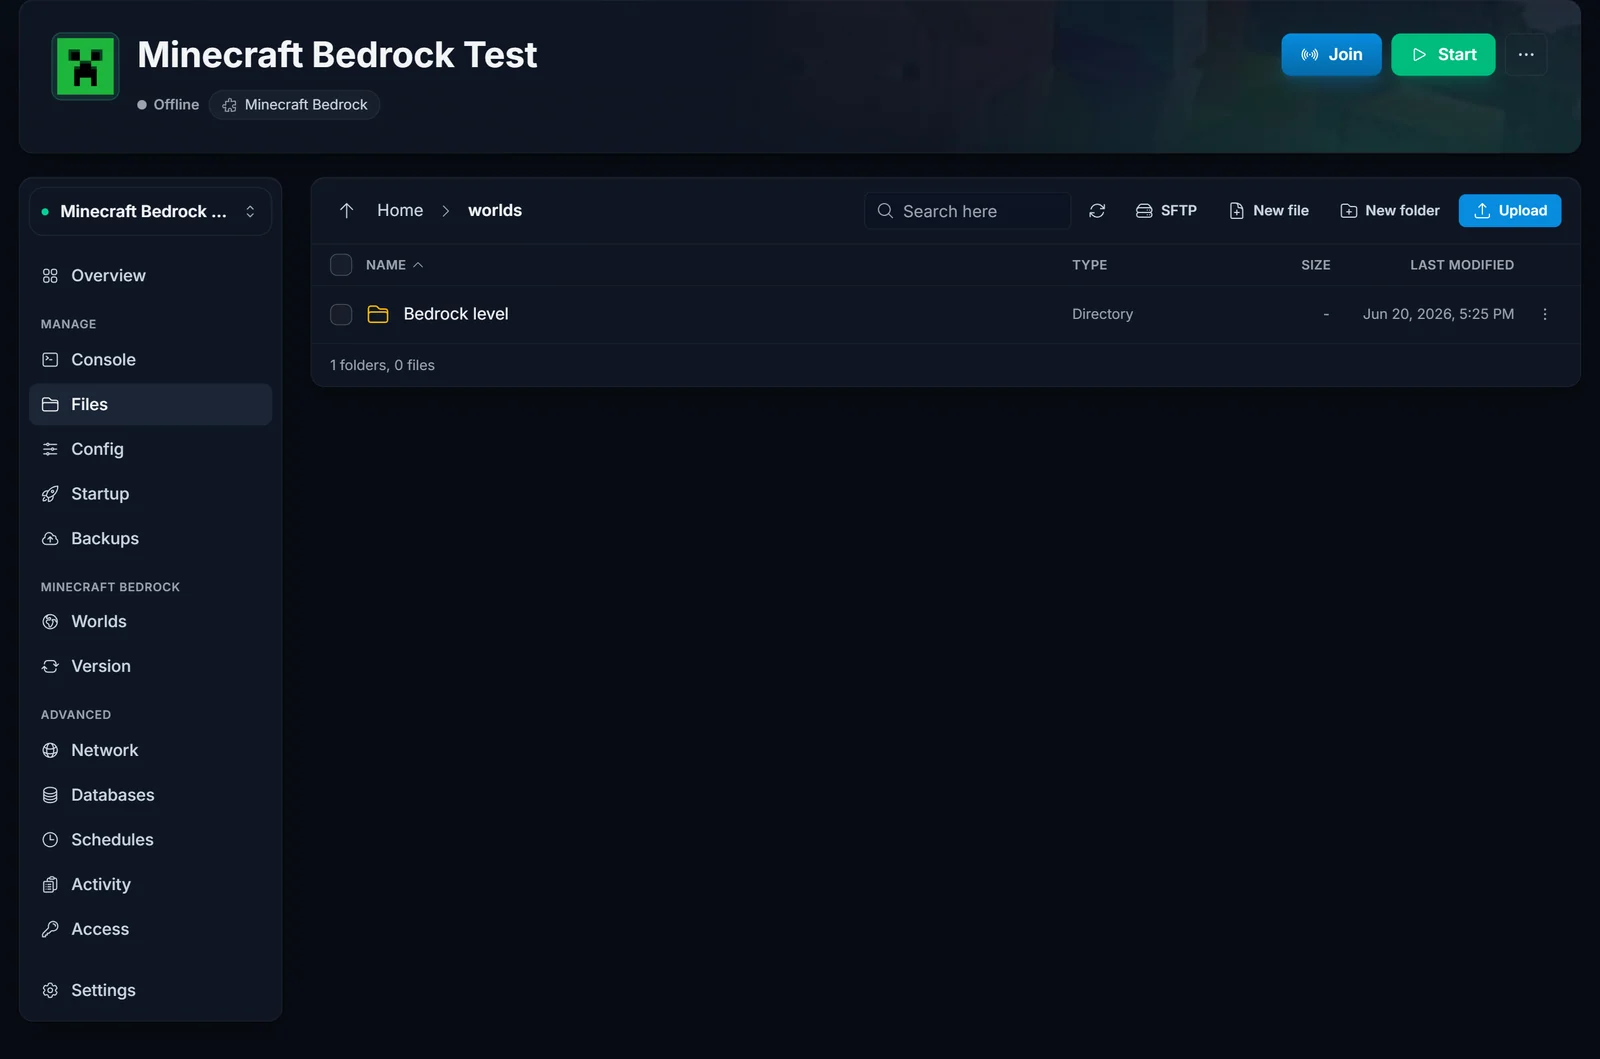
- Open the File Manager (or connect over FTP) and go to the
worldsfolder. - Upload your world. If it is a
.mcworld, upload it and then use Decompress (a.mcworldis just a zip), so its contents (adbfolder,level.dat,levelname.txt) end up insideworlds/YourWorldName/. If your world is already a folder, upload the whole folder intoworlds/.
- Set the active world. Open the Config tab (or edit
server.propertiesdirectly) and setlevel-nameto your world's folder name:
level-name=YourWorldName
- Start the server. It loads your world.
Where Bedrock worlds live
Every world is a folder under worlds/, for example worlds/Bedrock level/. Inside you will find a db folder (the LevelDB save), level.dat, and levelname.txt. The server only loads the single world named by level-name in server.properties. A .mcworld file is simply a zip of one of these world folders, which is how Bedrock exports and shares worlds between devices.
Switching between worlds
You can keep several worlds on the server and switch whenever you like. In the Worlds tab, open the menu next to a world and choose Make active, then restart. Manually, change level-name in server.properties to the other world's folder name and restart.
Common issues
- The world does not appear. It must be a folder directly inside
worlds/(for exampleworlds/MyWorld/) with adbfolder andlevel.datinside. A.mcworldhas to be decompressed first. - Changes do not stick. You edited the files while the server was running, so it overwrote them on shutdown. Always stop the server first, upload, then start.
- The server generates a brand-new world instead of yours.
level-namedoes not match your world's folder name exactly. It is case-sensitive and includes any spaces, so set it to the exact folder name. - A large world is slow to upload or times out. Big worlds take time. Keep the page open during the upload, and for a very large world use FTP instead of the browser.
Need a Bedrock server to host your world on? See our Minecraft Bedrock server hosting.