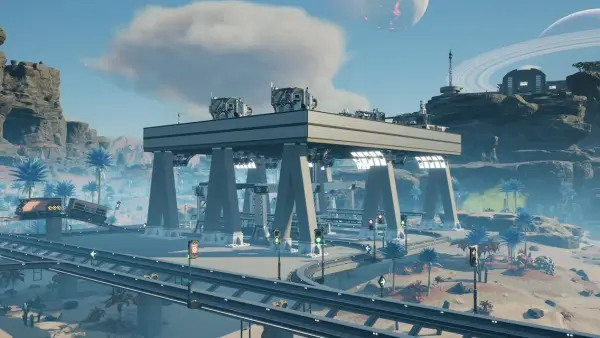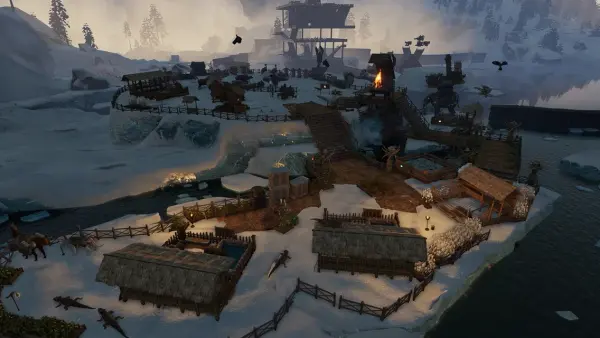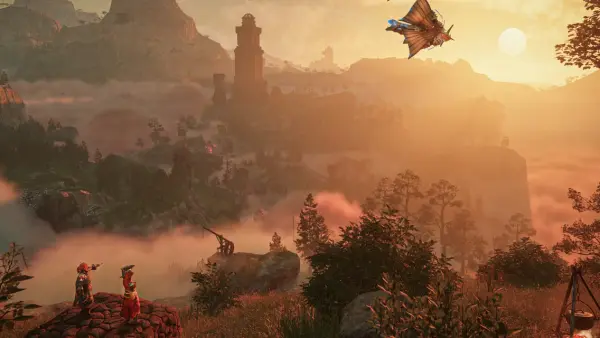
Soulmask does not punish a bad base location right away. It punishes you three weeks later, when your tribesmen burn half the in-game day walking to ore, raiders find the one approach nobody watches, and your dedicated server starts stuttering under a fort that grew sideways instead of upward.
We host Soulmask dedicated servers, so this guide does two things most base-location lists skip. It uses the game's actual region names and level bands, so you can find every spot on your own map instead of squinting at somebody's screenshot. And it covers the server-side settings that decide whether a location is even viable for your tribe, because half the "best base" advice online quietly assumes a single-player world with default rules.
Ten spots total: four on the main Cloud Mist Forest island, six in the Shifting Sands desert.
This guide is current for Soulmask 1.0 and the July 2026 building update. That update matters here more than it looks: the new Building Mode hotkey lets you place pieces directly from materials in your inventory and nearby storage, with no crafting-queue round trip. Building on site got much cheaper in time, which shifts the calculus away from "settle next to a crafting hub" and toward "settle where the terrain and the level band are right". Distance to resources still costs your tribesmen walking time, it just no longer costs you a second trip.
How to Judge a Base Location on a Multiplayer Server
A solo player can build wherever the screenshot looks best. A tribe of 4 to 8 on a rented server cannot. These are the criteria that actually change outcomes:
- Resource cluster inside the tribesman work radius. Tribesmen on auto-tasks operate in a radius around your hearth. Two or three resource types inside that circle means fewer long pathing trips, which is both faster for you and cheaper for the server's CPU.
- One defensible approach. Raiders take the path of least resistance. A river bend, a cliff shelf, or a single canyon mouth lets two defenders hold six attackers.
- Region level band versus your character level. Every Soulmask region carries a suggested level range. Building in a level 46 to 55 region at level 20 means hostile NPCs and wildlife are permanently above your weight class, including while you are offline.
- Climate. Heat and cold debuffs apply to your tribesmen too, not just you. A temperate site means your crafters work at full speed without you managing their clothing.
- Build footprint. Compact and vertical beats sprawling. Every placed piece is state the server has to keep, replicate, and save. This is the single biggest thing a tribe controls about its own server performance.
4 Best Base Locations on Cloud Mist Forest (Main Island)
The base map has 26 regions, each with its own suggested level range, temperature profile and inhabitants. These four cover the progression from spawn to endgame.
1. Eastern Rainforest: the starter camp you should outgrow
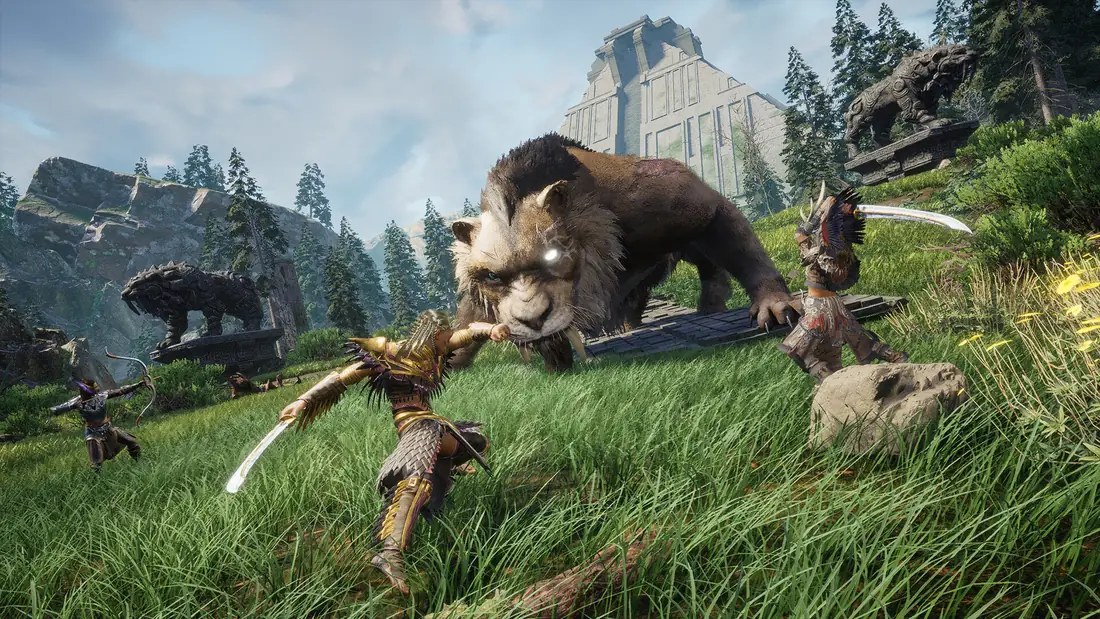
The rainforest belt is where the game funnels new characters: mild temperature, low-level wildlife, water every few hundred meters, and clay along most shorelines. Build a single-story shack with a fire, a workbench and a sleeping bag near a lake, and treat it as disposable.
The server-relevant part: on a fresh dedicated server this is where most of your tribemates will first log in, so it doubles as a rally point while people learn the controls. Do not pour stone or iron into it. You want to be gone by the time you can survive a real region.
2. River Valley: the first base worth building properly
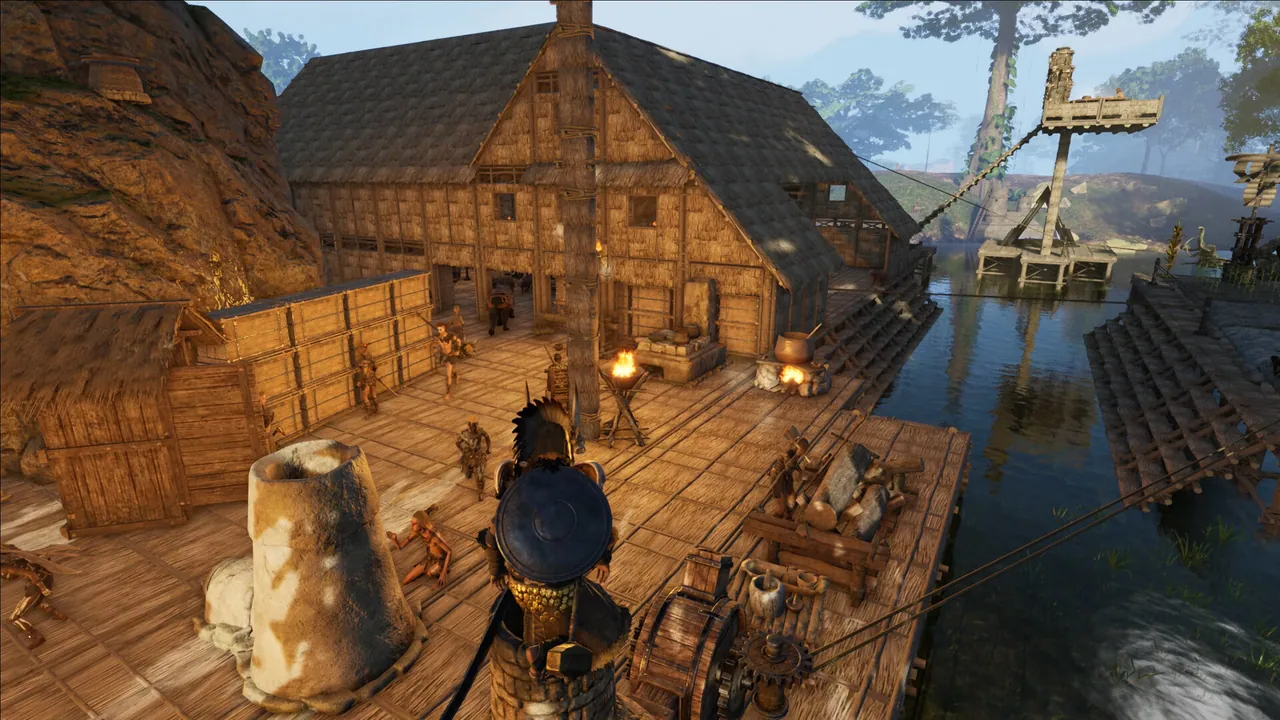
River Valley is the classic mid-game tribe site because the geography does the defending for you. Pick the inside of a horseshoe bend, put your only gate at the narrow land approach, and you have water on three sides. It is also flatter than the rainforest, which matters more than it sounds: fewer steep slopes means fewer foundation collisions, cleaner snapping, and less time fighting the build system.
For a tribe, this is the point where you should stop building one shared blob and start building a compound: a central hall for storage and crafting, worker housing radiating outward, one gate.
3. Lakeside Forest: the co-op tribe hub (level 31 to 40)
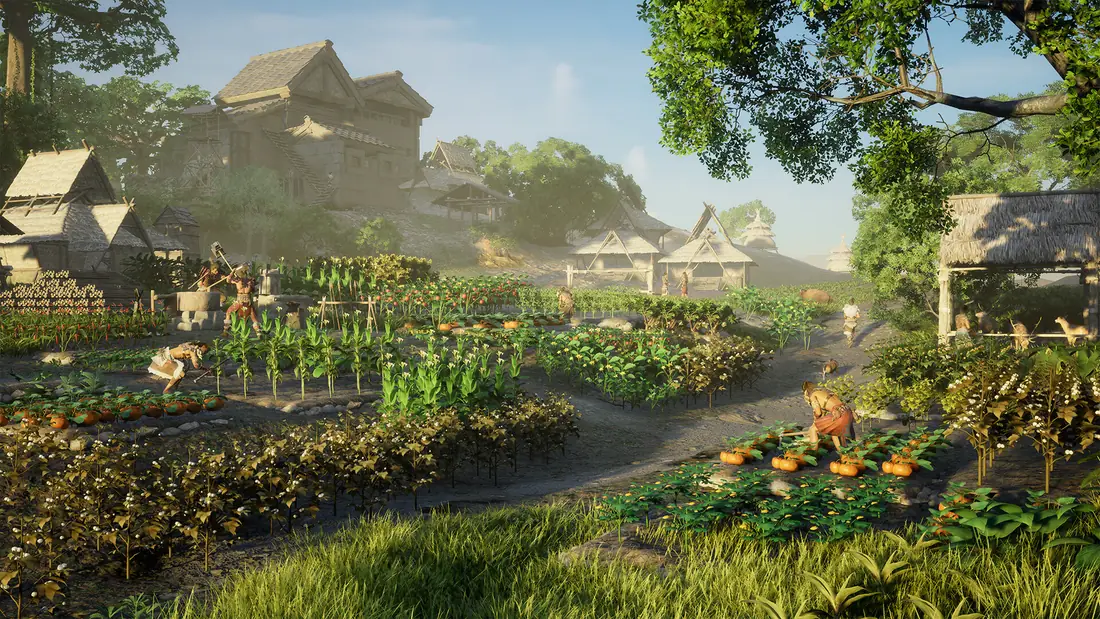
Lakeside Forest is a level 31 to 40 forest region, and it is the relocation target once your tribe has real gear. Temperate climate, plenty of flat ground, and no permanent weather debuff to manage.
This is the spot we recommend for 4 to 8 player tribes specifically because of the flat ground. Parallel build wings (one per player) stop people from snapping foundations into each other's projects, which is the number one cause of tribe arguments on shared servers. It also avoids the heavy weather effects that volcanic and frozen regions spawn, so anyone in your group on a weaker PC gets a noticeably smoother time.
4. Plateau Woodland: the PvP answer (level 46 to 55)
Plateau Woodland is a level 46 to 55 plateau region, and the terrain is the reason to go. Upland plateaus naturally produce flat tops with a single switchback approach. Gate the switchback and you have a position that is genuinely expensive to raid.
One layout tip that has held up on our servers: do not put your sleeping quarters and main storage on the plateau top. Put them in an inner bunker reached by a single ladder. If a raid party gets through the gate, the ladder is your second choke point and it buys the time you need to log people in.
Move here only when your tribe can survive the level band. A level 30 tribe in a level 50 region loses tribesmen to ambient wildlife while nobody is online.
6 Best Soulmask Shifting Sands Base Locations
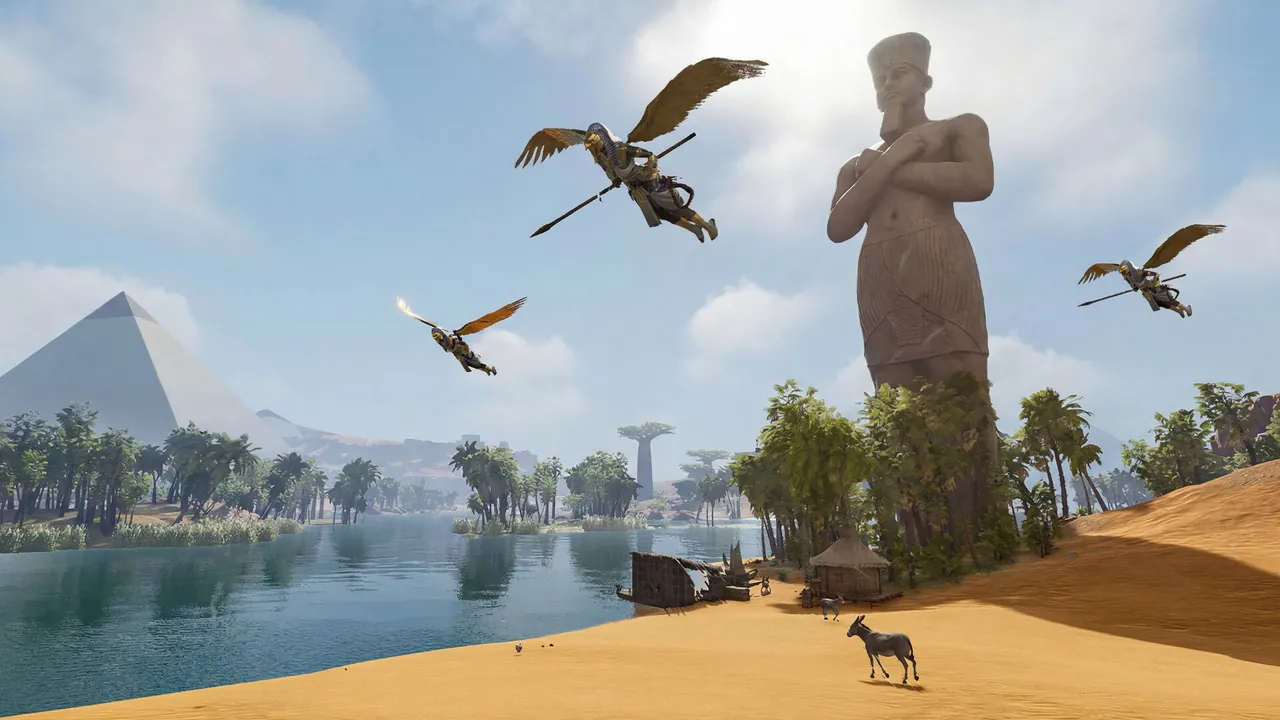
Shifting Sands is a desert map roughly the scale of the base island, with its own progression curve running from the coast in the south up to the plateaus and highlands in the north. It carries around 533 points of interest across 25 categories, including 143 ruins, 64 beast lairs, 58 barbarian camps, 30 mines, 13 airship camps, 11 ancient dungeons, 7 mysterious portals and 5 ancient pyramids, plus three new factions (Sand Bandits, Wildwolf Tribe, Savagehorn Tribe) and the Death Sandstorm world boss.
The important structural difference from the main island: water and shade are the constraint, not wood. Every good desert site is chosen around a water feature.
1. Sunset Bay: DLC spawn camp (River Mouth, level 1 to 10)
Sunset Bay is the level 1 to 10 river-mouth region and the natural first camp if your tribe is starting the DLC from scratch rather than importing an established character. River mouth means fresh water plus coastal resources in one place, and the level band means the local wildlife will not delete a fresh tribesman.
Same rule as the rainforest: build cheap, build small, leave. On a shared server, keep it as a permanent respawn shack even after you move on.
2. Three River Junction: the early tribe site (River Mouth, level 11 to 20)
Three River Junction is the level 11 to 20 river-mouth region and the first place worth a real build. Multiple river channels give you the same defensive geometry that River Valley offers on the main island, with the desert bonus that a permanent water source removes the biggest early-game desert pressure entirely.
It also sits next to Barren Sandland, a level 16 to 25 dune region that holds a mysterious portal, which makes it a sensible base from which to push the first dune content.
3. White Sand Lake: the mid-game relocation (Coast, level 21 to 30)
White Sand Lake is a level 21 to 30 coastal region sitting near the Salt Marsh, west of South River Valley. Lake plus coast means water on multiple sides and a genuinely defensible peninsula-style build, and the surrounding salt terrain matters for food preservation lines.
This is the sweet spot for a tribe that has cleared the starter content and wants one base to hold for a long stretch of the DLC.
4. Sulfur Pool: the crafting outpost (Highland, level 26 to 35)
Sulfur Pool is a level 26 to 35 highland region and it is the exception to "build near water". You do not want your main hall here. You want a small outpost: a couple of benches, storage, a sleeping bag, and tribesmen running material loops back to White Sand Lake.
Two compact bases in different regions cost your server less than one enormous base trying to bridge both, because you are not stretching a single replicated structure across a huge area. It is also the answer to the classic mistake of dragging a level 30 tribe into a resource region and losing the whole build to a raid nobody could get back to in time.
5. North River Valley: the late-game hub (River Valley, level 31 to 40)
North River Valley is a level 31 to 40 river-valley region with phosphate ore along the coastal stretch near the river, which makes it the practical staging point for late-DLC crafting. River geometry again, higher level band, better loot radius.
If your tribe only builds two serious bases in Shifting Sands, make them White Sand Lake and North River Valley.
6. Your airship: the mobile base (mid to late DLC)
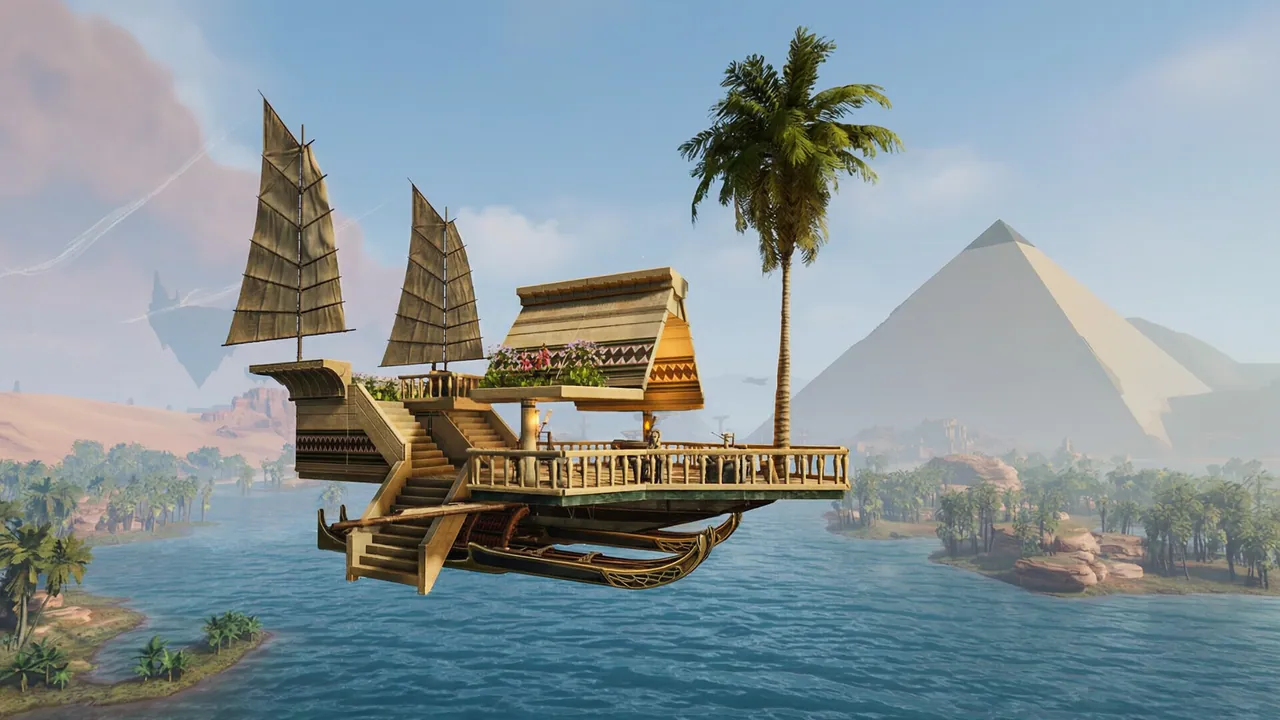
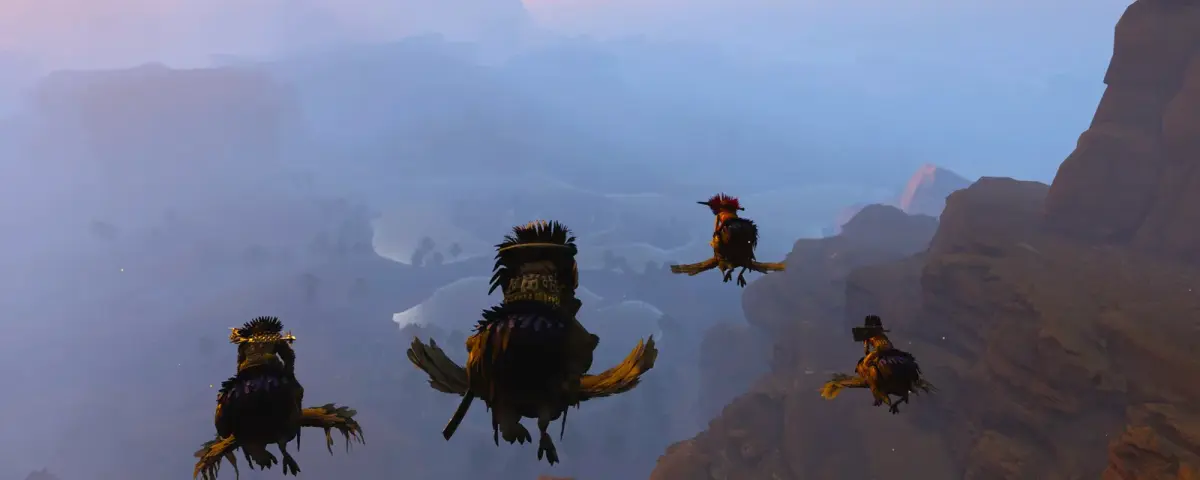
The airship is the DLC's headline feature and, for a lot of tribes, the real answer to "best base location". Start with a basic wooden skiff as soon as you can, because even a minimal hull changes your safety profile: fewer forced ground encounters, faster evacuation when a sandstorm rolls in, easier corpse recovery. Progression runs up through larger hulls and anti-gravity modules. The 13 airship camps scattered across the map are the parts economy that feeds this.
Two practical notes for server tribes. First, an airship is still placed structure, so it counts against whatever build allowance your server runs. Second, treat it as a mobile forward base, not a replacement for a fixed hall. A moving base with all your storage on it is one bad decision away from being a moving disaster.
If you want a mask to pair with airship play, Horus is the common first pick because flight and glide control change how you scout cliffs and shortcut routes.
How to Switch Your Server to Shifting Sands
This is the part no listicle covers, and it is the thing that actually blocks tribes.
Shifting Sands is not a setting inside the world. It is a different map, selected by the map name your server boots with:
Level01_Main       = Cloud Mist Forest (base map)
DLC_Level01_Main   = Shifting Sands
Change the map name on your server's startup configuration and restart. Three things to know before you do:
- Each map keeps its own save. Worlds live under
WS/Saved/Worlds/Dedicated/<MapName>/, soDLC_Level01_MainandLevel01_Mainare stored separately. Switching does not delete your main-island progress, and switching back restores it. - Everyone needs the DLC. Every player connecting to a Shifting Sands server must own Shifting Sands on Steam. Accounts that owned Soulmask before 10 May 2026 got it free; after that it is a paid DLC. Check this with your tribe before you flip the map, not after.
- The first boot is slow. The server has to pull the DLC content down. Leave auto-update enabled and give it several minutes rather than assuming it hung.
On our panel you can watch the live player count come back after the switch, which is the quickest confirmation the map actually loaded and is answering queries rather than sitting in a broken boot loop.
Server Settings That Decide Where You Can Build
Soulmask 1.0 reworked the settings system. Gameplay tuning lives in GameXishu.json under WS/Saved/GameplaySettings/, with roughly 277 keys covering damage, harvest rates, raids and tribe limits. Configuration resolves in three layers: startup parameters override Engine.ini, which overrides GameXishu.json.
The keys that change your base-location decision:
GeRenMaxZhaoMuCount,GeRenMaxZhaoMuCount_Two,GeRenMaxZhaoMuCount_Three,GongHuiMaxZhaoMuCount: personal and guild recruit caps. A high cap means big workshops are worth it and a resource-dense region pays off. A low cap means fewer, better tribesmen and a smaller footprint, which pushes you toward the compact two-base setup.RuQinKaiGuan,SuiJiRuQinKaiGuan,RuQinQiangDuXiShu,RuQinGuiMoXiShu: NPC raid toggles plus intensity and scale multipliers. If your admin has raids on and scaled up, defensive geometry (Plateau Woodland, river bends, Three River Junction) stops being flavour and starts being the deciding factor.JianZhuFuLanKaiGuan,JianZhuFuLanMul: building decay on or off, and its speed. Decay on is the argument against scattering six outposts you will not maintain.PVP_ShangHaiRatio_JinZhan,PVP_ShangHaiRatio_YuanCheng: PvP melee and ranged damage ratios. High ratios mean fights end fast, which favours choke points over open compounds.
One operational warning: the server rewrites GameXishu.json on a clean shutdown. Stop the server before you edit it, or your changes get overwritten.
What a Big Base Actually Costs Your Server
This is the number that surprises people. A Soulmask 1.0 server process needs roughly 11 to 12 GB of memory just to reach a running state, so 16 GB is the realistic floor rather than a nice-to-have. Public or long-running worlds are usually happier at 24 to 32 GB.
More importantly, that figure grows with the world, not with your player count. More placed structures, more explored terrain, more tribesmen: every one of those adds persistent state. A tribe that sprawls across four regions with 3,000 pieces will cost meaningfully more than a tribe that builds two tight compounds, on identical player numbers.
Which is the practical reason the two-base pattern keeps showing up in this guide. It is not just tidier, it is cheaper to run. If you want to size this before you commit, our Soulmask RAM calculator will get you in the right bracket.
Host Your Soulmask Server with DoomHosting
If your tribe is done coordinating around one person's PC being switched on, DoomHosting's Soulmask servers run on Ryzen 9 hardware with instant setup, full FTP access to GameXishu.json and the world folders above, one-click map switching between Cloud Mist Forest and Shifting Sands, DDoS protection and 24/7 support. Scale RAM up as your world grows instead of guessing on day one.
Pick your region, claim your hearth, and build something you can actually defend.